Your car could use a good wash. After all, in the summer your car encounters storms that bring in dust, dirt, and unsightly water spots as well as the usual road debris. A car wash not only makes your car look clean, shiny and almost-new, it’s also a good way to protect the exterior paint.
Learning how to wash a car at home might save you more than a few dollars versus a visit to the local car wash, it may also save you thousands in paint repairs and over time help you maintain your car’s value. Particles from dirt that remain on your vehicle can actually cause tiny scratches that permanently damage paint and may affect the resale value of your car later on.
Washing your car does not have to be a big production nor does it have to take all day. With a little planning, organization, and execution, washing your car at home will be a snap! 
For best results follow our at-home car washing tips:
- Plan Ahead
Take an up-close look at your car to determine just how dirty it is. Is it covered in mud, dust, bird droppings, or other elements that have soiled your car? By determining how badly your car is in need of a wash, you’ll know just what kind and how much product is needed to get the job done. A simple wash, for example, won’t require as much in comparison to the products needed for the undertaking of a heavy duty scrub or a wash and wax.
- Use the Right Products
Laundry detergent is great for laundry and dish soap is ideal for washing dishes, but they are not made for car washes and using these kinds of soaps could damage or fade your car’s paint. Instead, use only highly-rated products that are made specifically for cars. Using superior quality products helps avoid water spots, streaks, or films that may permanently damage the car’s exterior paint surface. Search for products that are mild and contain natural products.
- Adopt the 3-Bucket Method
Have you ever mopped your floor and halfway through, you look down and see a bucket of dirty water? Would you continue washing the floor knowing you’re washing it with dirty water? That’s essentially what the three bucket method helps to avoid. The objective of the car wash is to remove dirt and other contaminants from the surface of the car, not to reintroduce them.
Bucket #1 should contain only warm, clean, soapy water.
Bucket #2 should contain water only as it is used to rinse off your cleaning rag, after touching your car, and before placing it back into the soap bucket.
Bucket #3 contains soap and should only be used for cleaning the wheels. Why do the wheels get their own special bucket? Wheels are constantly in contact with the road, picking up every spec of dirt and oil residue on the asphalt, making them one of the dirtiest parts of your car.
- Set Up Your Wash Area
Collect all tools and equipment you’ll need to wash your car from start to finish. Having to stop the wash process won’t do you any good and may damage your car’s paint. Do not leave your car covered in soap while you search for what you need. Instead, prepare all buckets ahead of time, keep extra sponges and rags at the ready, and keep the hose within your reach.
- Find Some Shade
If you’re able, wash your car under a shaded area or a covered tent. Washing your car in direct sunlight can work against you. In higher temperatures, water evaporates more quickly, and the hottest part of the day is typically between 3:00 – 5:00 PM. Avoid washing your car during these times and instead try for morning hours when temperatures are often cooler.
- Divide and Conquer
Generally, washing the car includes a rinse of the whole car, soaping up and scrubbing, and then a final rinse. This may work during cooler times of the year but in the summer, stick to cleaning one section at a time. Start by washing the wheels, then wash from the top down from panel to panel, and finally, dry each area before moving to the next. This is one of the best ways to prevent water spots after a car wash.
- Move Quickly
Time and temperatures are working against you. Work as quickly and as efficiently as possible without cutting corners. In the planning process, create an efficient methodical process that will help you complete the project as quickly as possible. Remember, you’re already fighting against high temperatures. For particularly mucked up areas, rinse the area first, then wash with the soapy sponge.
- Wash then Dry
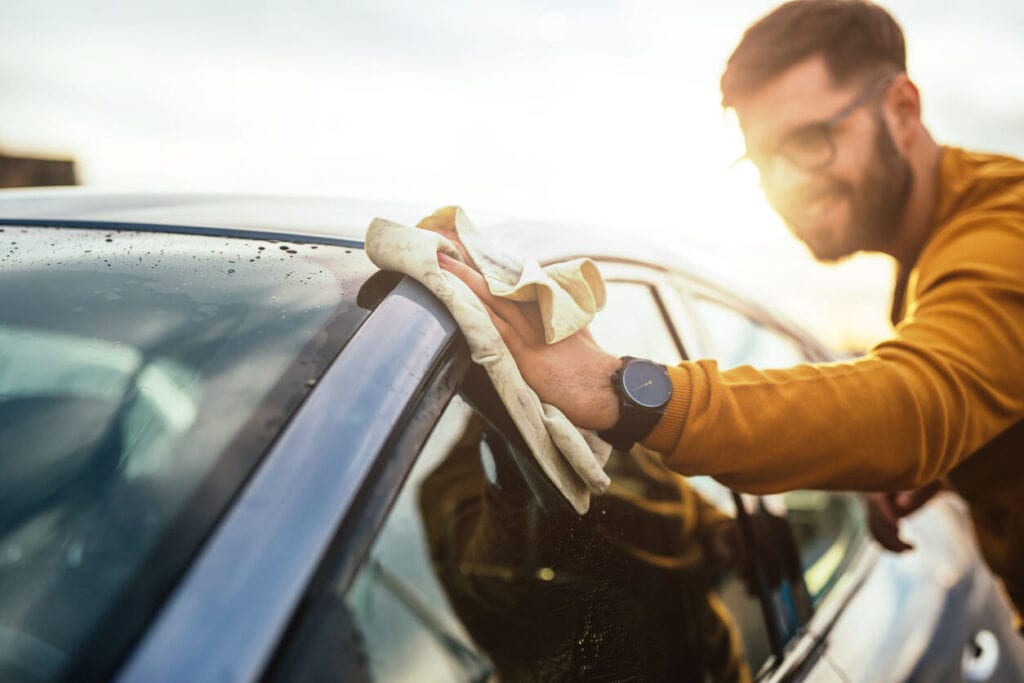
After washing each panel, dry the section using a damp chamois or a microfiber towel. There’s really no secret in how to dry a car after washing, but for best results and to avoid streaks or water spots, dry the area from top to bottom. As you dry, look for any dirt spots, streaks, or water spots you may not have noticed before.
- Get on Schedule
Many drivers wonder how often to wash a car in the summer versus the winter, though season doesn’t really dictate frequency. Most vehicle experts will recommend a car wash every two weeks; however, this can vary depending on conditions and what the vehicle is exposed to on the road.
Vehicles that are not driven often can go longer between washes. Conversely, vehicles that come in frequent contact with salt from roads or the ocean, should plan to wash more frequently to avoid corrosion and rust. Likewise, vehicles that travel over dirt roads and heavy terrain, can expect more frequent washes.
